English
 Deutsch
Solution
Surgical headlight setup: aim, spot size and brightness before every case
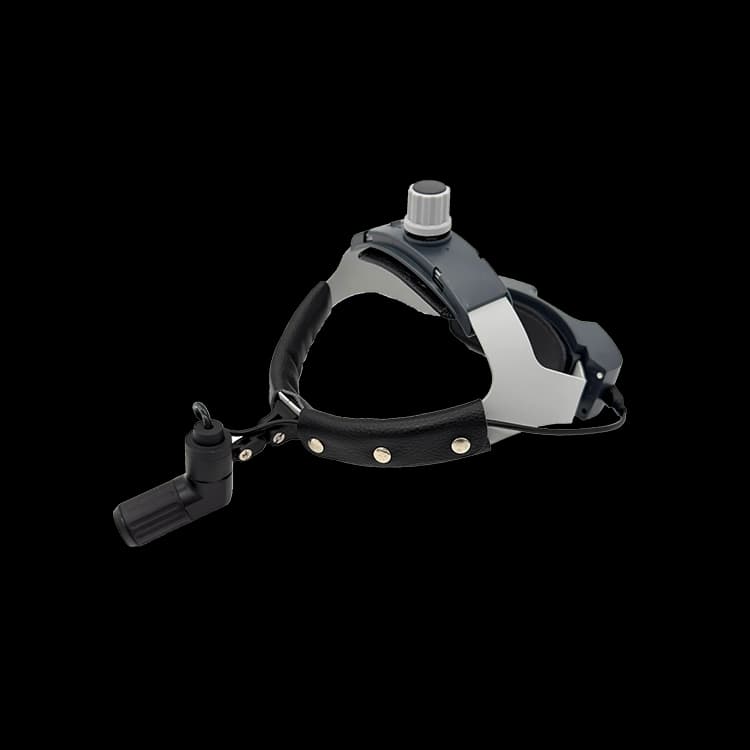
A surgical headlight helps only when its light lands exactly where you are looking, at a size and intensity that suit the task. Most of that is decided in the few minutes before the case begins. This guide walks through that setup for the Elbnova EH-100 LED medical headlight, step by step, and through the small corrections that keep the light on target until the end.
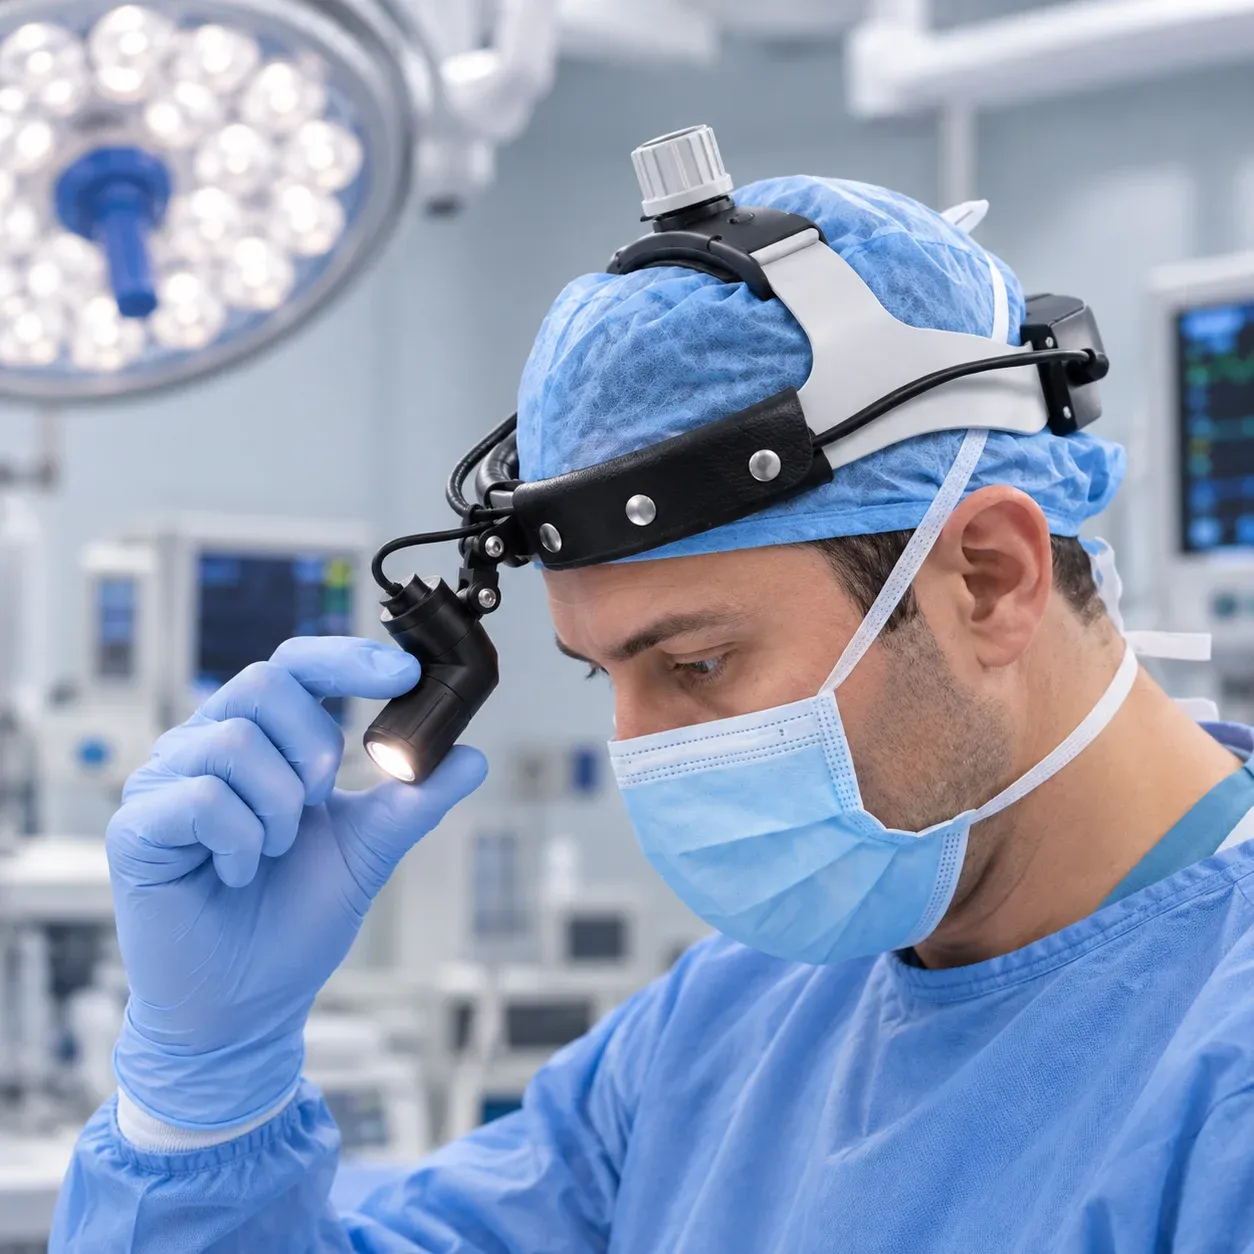
Most problems with a surgical headlight are not problems with the light itself. A beam that drifts above the field, a spot that is too wide for a small opening, or a battery that runs low halfway through a long case usually comes down to setup. The EH-100 gives you four things to set: the battery check, the beam angle, the spot size and one of six brightness levels. Done in that order, the routine takes very little time and rarely needs redoing during the case.
Start with the battery, not the beam
The EH-100 is a cordless LED surgical headlight: it runs on an integrated Li-ion polymer battery and works without external cables, so there is no cord to route behind you. That freedom depends on one thing, enough charge for the case ahead.
- Switch the headlight on with the upper button and watch it closely. The flashes at startup show the battery level, and this is the moment to read them.
- Compare the charge with the length of the case you expect and the brightness you are likely to use. A full charge gives up to 5 hours of operation, depending on brightness. Higher levels shorten that time, so do not plan a long case at the top level on the strength of the 5-hour figure.
- If the charge looks short for what is planned, charge the headlight before you start. Its charger accepts 100-240 V AC, which covers ordinary mains supplies.
A useful habit is to put the headlight on charge after every use. The next battery check then starts from a known point rather than from whatever was left the day before.
Fit the surgical headlight and aim the beam along your line of sight
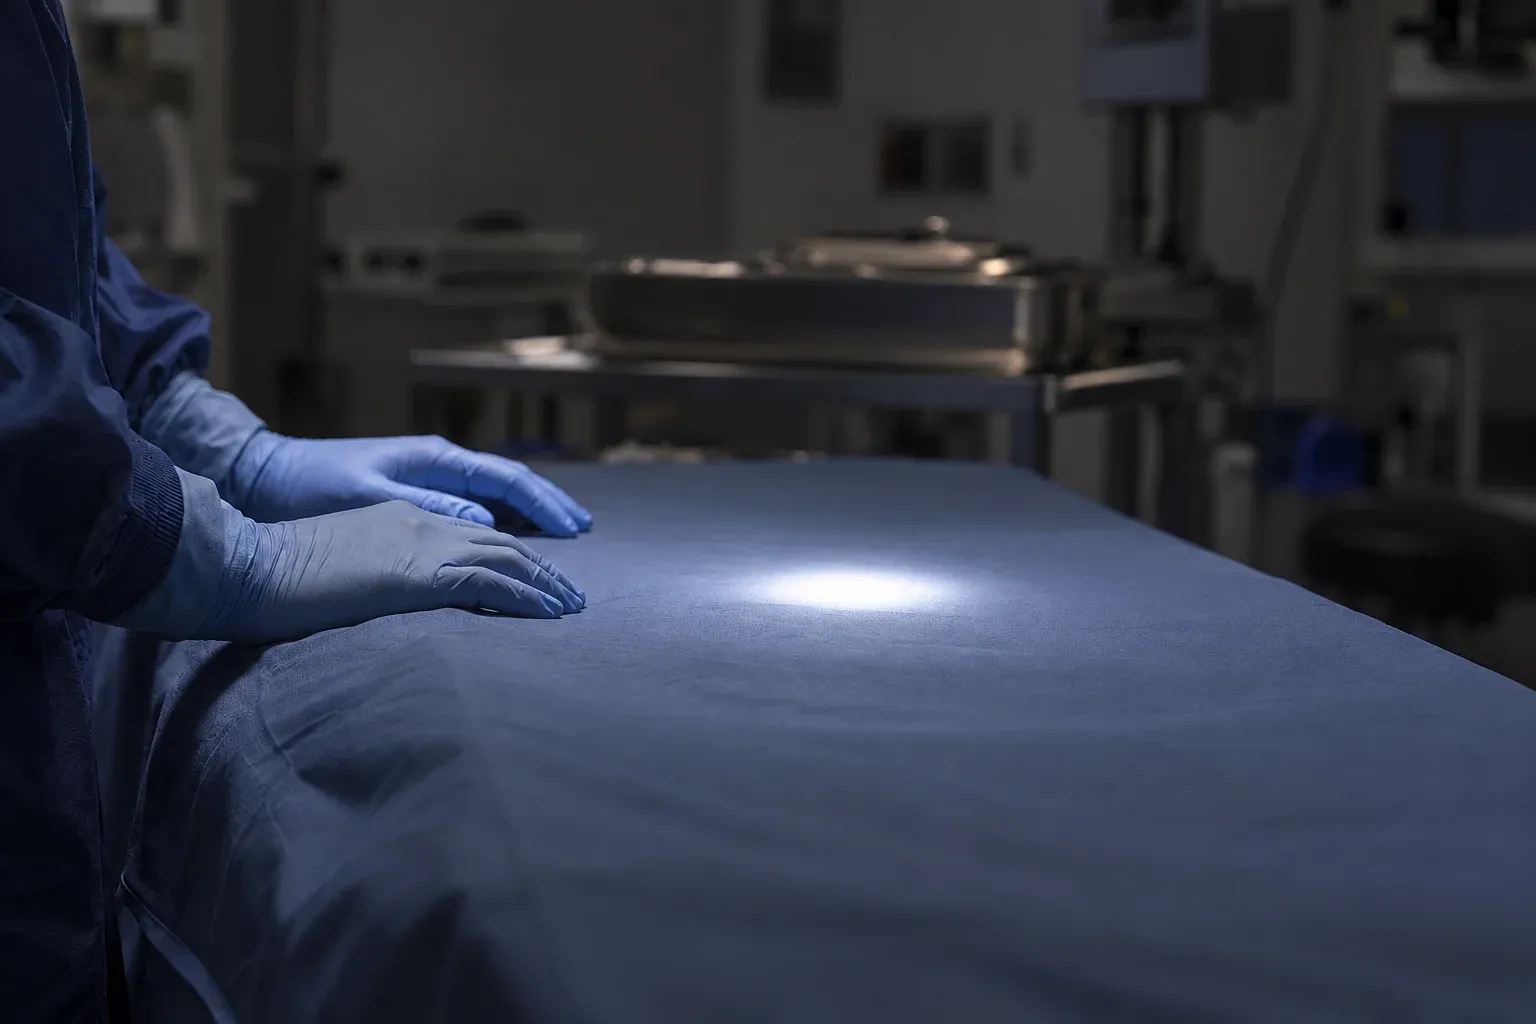
Aiming is where a surgical headlight earns its place or gets in the way. The light should follow your gaze, so you never have to tilt your head to bring the field into the light.
- Put the headlight on and fit it as described in the instructions for use, firmly enough that it does not shift when you lean forward. Any aim you set on a loose fit will be lost with the first movement.
- Take your real working position before you aim: seated or standing, at the table height you will use and leaning as you will lean. Aiming while standing upright and then working bent forward is a common reason a beam ends up too high.
- Look at a fixed point at your working distance, such as a gloved fingertip held where the field will be. Using the articulated tube arm, adjust the beam angle until the centre of the light sits on that point.
- Shift your gaze slightly left, right and down. If the light stays with your line of sight without you moving your head, the angle is right.
If you also wear loupes, aim the light at what you see through them, not at what you see over them. The field through medical loupes is small, and light that sits even slightly off its centre is light you are not using.
Set the spot size by rotating the lamp base
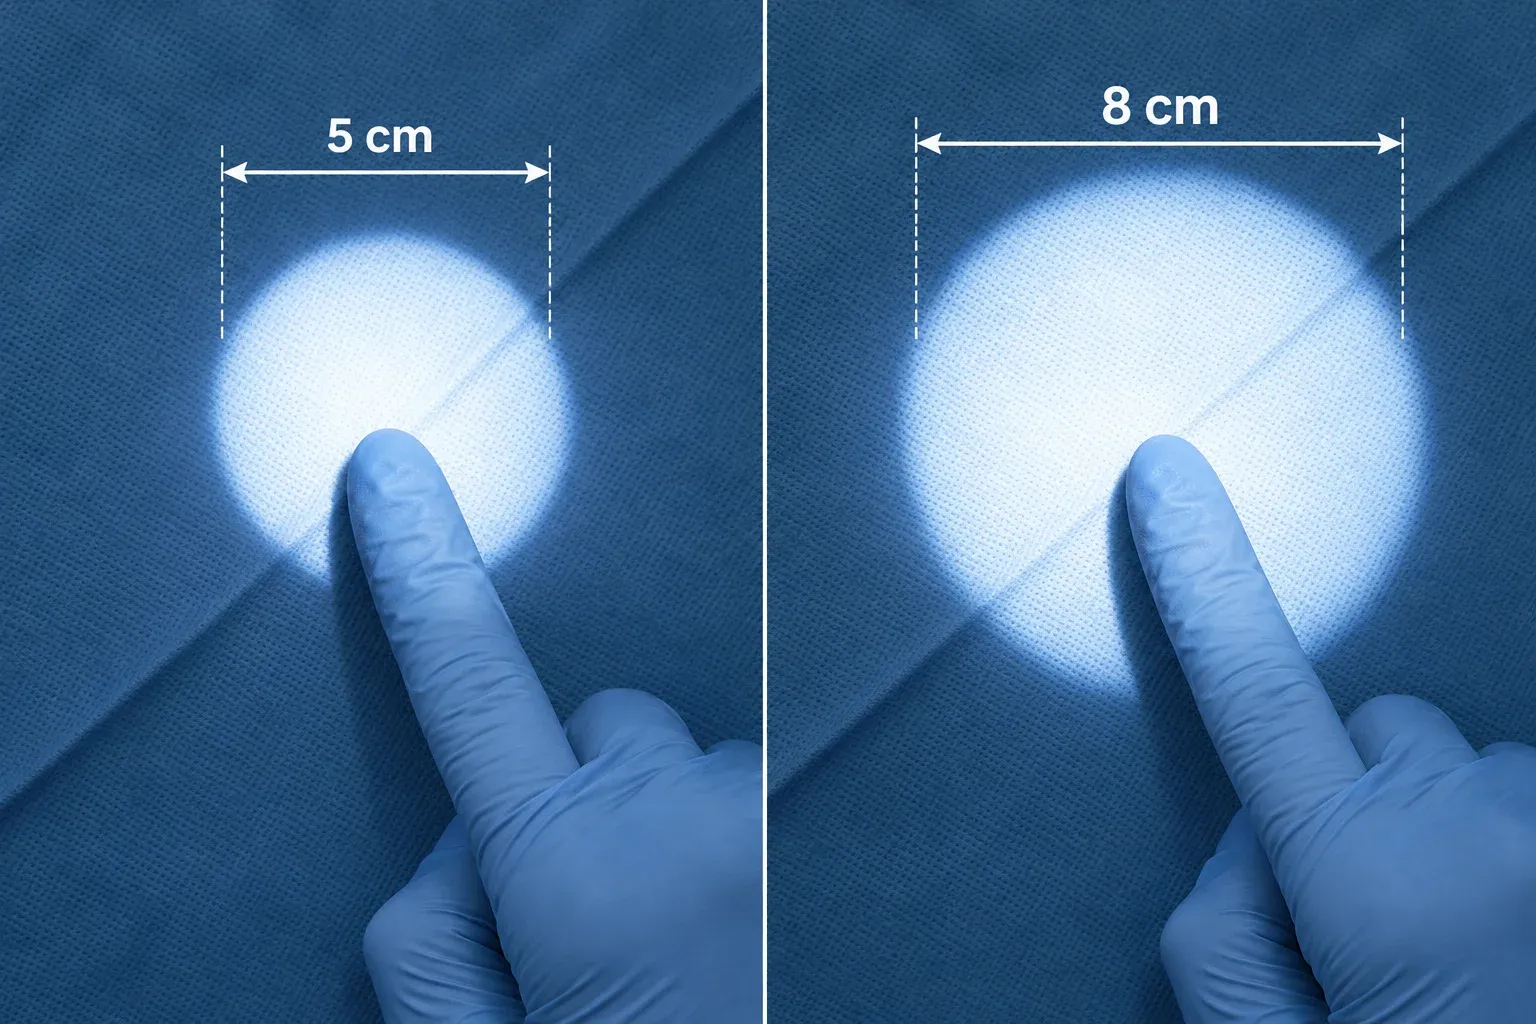
On the EH-100, the spot size is adjusted by rotating the lamp base, which makes the spot larger or smaller. There is no single correct setting; it depends on the field in front of you.
- A wider spot suits orientation and larger areas, where you need to see the surroundings as well as the centre.
- A smaller spot keeps the light on a small or deep field and reduces the light spilling onto drapes and instruments around it.
Set the spot size before you settle on a brightness level. How bright the field appears depends on both, and fine-tuning the brightness first only means doing it twice.
Choose one of the six brightness levels for your working distance
The EH-100 has six fixed brightness levels. The upper button raises the level and the lower button lowers it, while six small LEDs show which level is active.
Distance matters as much as the level. The headlight is specified at 20,000 lx at 200 mm and 7,000 lx at 300 mm, so just ten centimetres of extra distance means clearly less light on the field at the same setting. That is why the level should be chosen at the distance you will actually work at, and checked again if your position changes.
A sensible way to choose:
- Start at a moderate level and step up until the detail you need is clear.
- Stop there. More light is not automatically easier to see by, especially on wet or reflective surfaces, and every step up shortens the operating time.
- Note the level by the number of lit LEDs. Because the levels are fixed steps, the same setting is easy to find again for the same kind of task, and colleagues who share the headlight can do the same.
Small corrections during the case, and the usual mistakes
Settle aim, spot and brightness before the sterile phase begins, so that during the case you only adjust what the situation requires. Any change after that follows your team's rules for handling non-sterile equipment.
Three moments usually call for a quick correction:
- You change posture, for example from standing to seated. Re-check the beam angle.
- You move closer or further away. Re-check the brightness level.
- The field becomes smaller or deeper. Re-check the spot size.
And four setup mistakes account for most of the frustration with a headlight:
- Aiming at eye level while upright, then working leaning forward.
- Choosing the brightness at one distance and working at another.
- Starting at the highest level by default and running short of charge late in the case.
- Skipping the startup flashes and discovering the battery level only when it matters.
If you are setting up a whole workstation, it helps to finish patient positioning first. The light can only be aimed well once you know where the field will be.
Switching off, charging and cleaning after the case
When the case is finished, switch the headlight off with the lower button and put it on charge, so the next check starts full. Clean and store it as described in the instructions for use, rather than with a general routine borrowed from other equipment.
The LED itself is rated for up to 50,000 hours. That figure describes the light source, not the lifetime of the whole headlight, which is covered by a 12-month warranty from the date of purchase for manufacturing defects. If something does not work as it should, the warranty and our team are the right place to start.
Specifications and contact
A well-set surgical headlight is mostly invisible: the light is simply where you look. The full specifications of the EH-100, including illuminance, colour temperature and battery details, are on the EH-100 LED medical headlight page, and the product catalog brings the range together. For more guidance on equipping a workstation, the Solutions overview collects our other articles. And whether you have a question about setup or would like to talk about the headlight for your team, we would be happy to hear from you.